Ice Mask

By Troy Packer

Ice Mask Photoshop Tutorial Header

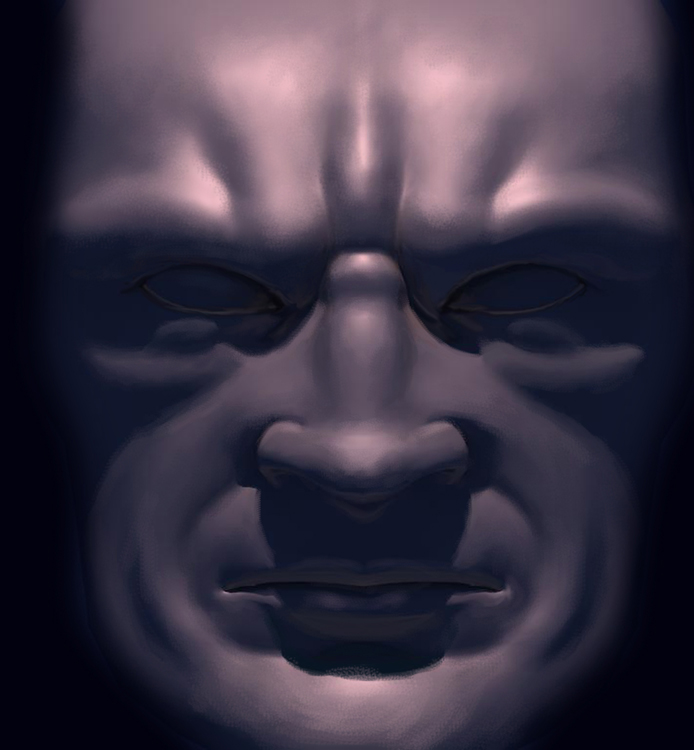
This is a simple tutorial showing how I altered the mask from the last tutorial (Freehand Painting with Photoshop). You can come up with a whole heap of different images just by experimenting with Adobe Photoshop.

One of the most common mistakes people who are new to Adobe Photoshop make, is to just apply 1 filter (sometimes 2 if they are really adventurous) and think they have achieved something REALLY great. Sadly in reality IT JUST LOOKS LIKE YOU APPLIED 1 FILTER (or 2) and most people who have been using photoshop for a while can spot it.

Hopefully from this tutorial you will learn some interesting ways to combine filters and be able to pull off some better image manipulations. You may even learn some new filters if you are newer to photoshop and some helpful tricks.

Ice Mask Photoshop Tutorial 01

If you would like to follow along with this tutorial using my mask image then CLICK HERE to download it. Be patient as it opens (it’s 205KB) in another window. Once it is open, right-click on the image and select “Save Image As…” to save it to your computer.

I suggest you read through the entire tutorial before you begin…

Ice Mask Photoshop Tutorial 02

Image 1:

Duplicate the mask layer and apply the chrome filter.
Filter >> Sketch >> Chrome (I just used the default settings for this.)

Image 2:

Drop the opacity on the chrome layer down to about 45%. It can be dropped as little or as much as you like. I wanted the base colour to come through while keeping a good amount of the chrome detail.
Merge the layers together.

Ice Mask Photoshop Tutorial 03

Image 3:

Duplicate the mask layer and change the mode of the top layer to Overlay.
You can scroll through all of them to see the different effects each one has on the overall image. There are a few others that would make nice blends.
Merge the layers again.

Image 4:

Play around with the Hue and Saturation to see what variations you can get.

Image >> Adjustments >> Hue/Saturation…
There are heaps of possibilities here, from gold and silver, right through to glass.

Ice Mask Photoshop Tutorial 04

Image 5:

Fine tune the colours with the Colour Balance.
Image >> Adjustments >> Colour Balance…

I got a nice bluish-purple. Again play with the sliders to see what you can come up with.

Image 6:

I adjusted the Levels slightly to push the darks back and to bring out a bit more detail in the chrome pattern.
Image >> Adjustments >> Levels…

I also used the Dodge Tool with a soft brush in certain areas to bring out the highlights a bit more. This had the added advantage of slightly altering the colour and saturation of the blue giving the mask an icy translucent look.

Ice Mask Photoshop Tutorial 05

Image 7:

I wanted to bring in a basic background for the mask, one that would either compliment or be part of the main image of the mask. I thought I would try to make the background merge with the mask. I duplicated the layer again, and applied a Polar Co-ordinates filter.
Filter >> Distort >> Polar Co-ordinates

Polar to Rectangle settings, You will have to hide the top layer to see the effect.
I erased around the mask in the top layer to show the filter effect of the lower layer.

Image 8:

To break up the symmetry of the Polar filter, I rotated the layer 90 degrees.
Edit >> Transform >> Rotate 90 CCW

Ice Mask Photoshop Tutorial 06

Image 9:

For the eyes, I created a new layer and used white with a soft round brush to shade them in.
I then put an Outer Glow effect on it.
You can use any settings you like to get the desired effect. My settings were Spread 3%, Size 80%, and the Range at 100%, and with a bluish colour to match the rest of the image.

Image 10:

Next I thought I would give his eyes a bit of cold mist coming off them. Create a new layer, called something like “eye mist”.
I drew a few rough lines with a small hard brush over one eye. You don’t have to be tidy at all with these, and they should be totally random.

This tutorial continues on the next page >>